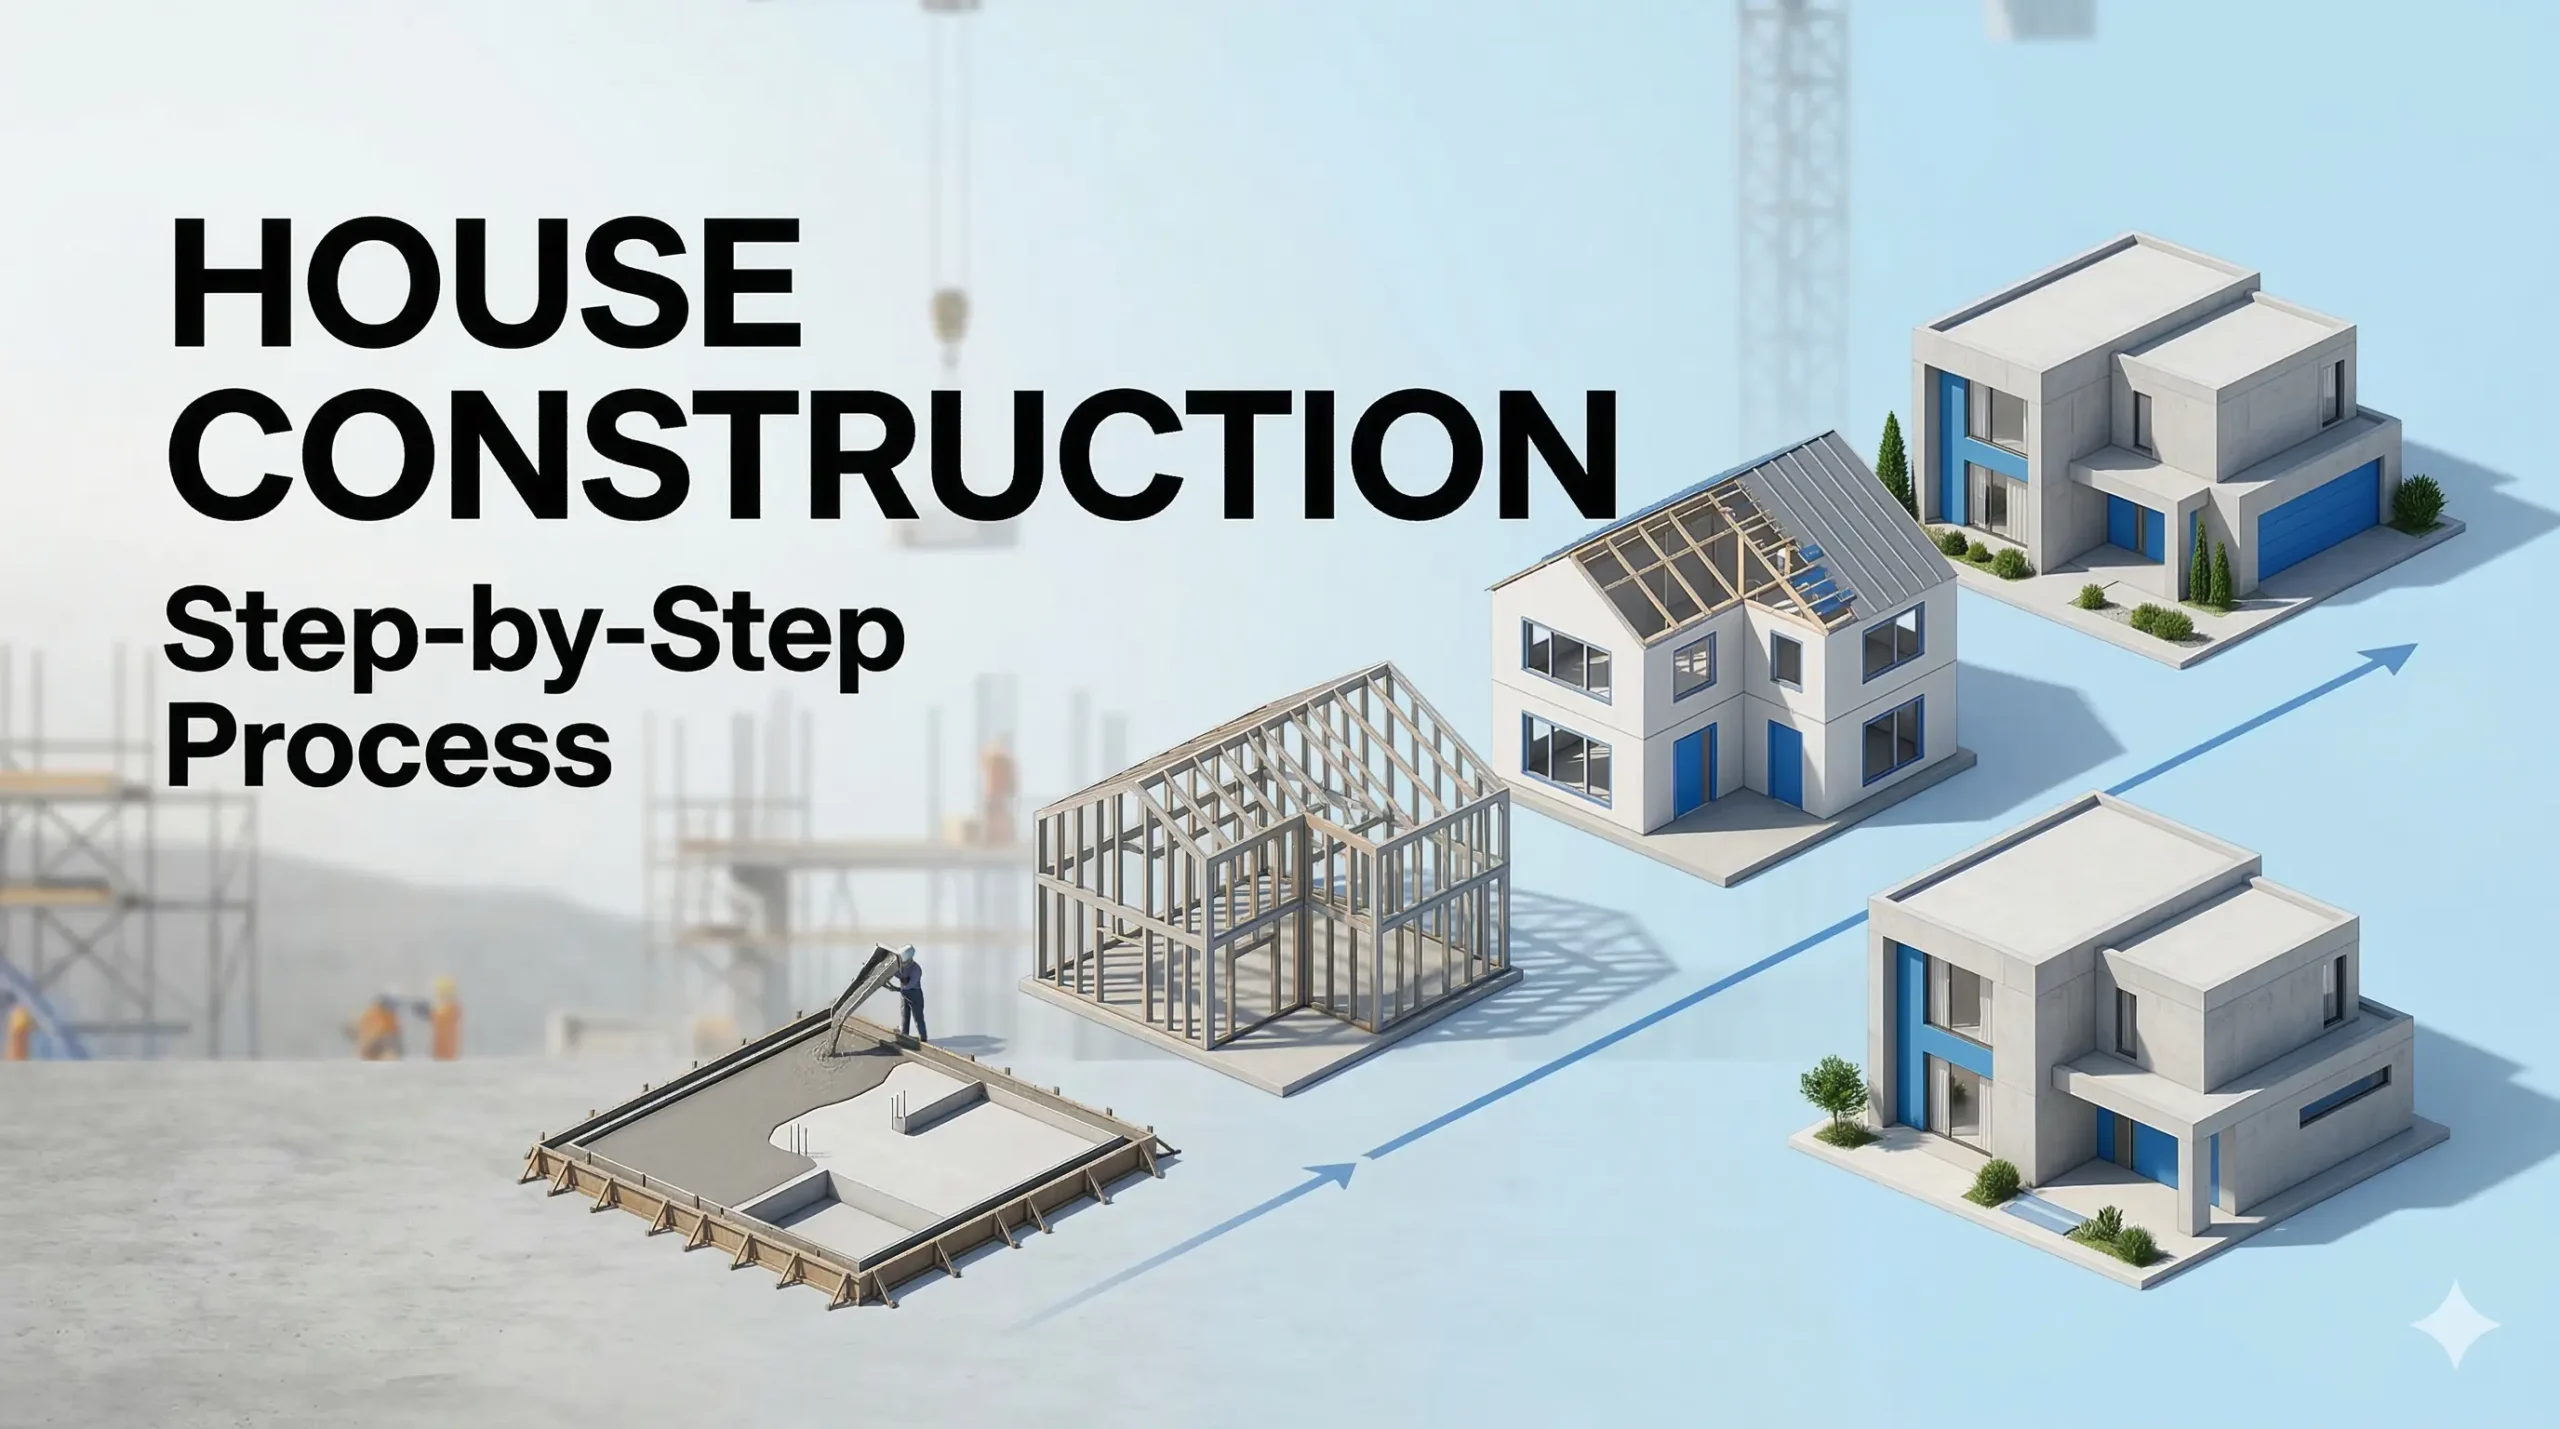
House Construction Step by Step Process: A Beginner’s Guide
Building your dream home is one of the most exciting journeys you’ll ever take. But let’s be honest it can also be overwhelming if you don’t know where to start. That’s why understanding the house construction step by step process is so important. It not only gives you peace of mind but also helps avoid costly mistakes.
In this blog, we’ll break down the complete house construction process in simple, easy-to-understand steps from planning to finishing. Whether you’re building on your own land or working with a builder, this guide will walk you through the steps of house construction with clarity.
1. Planning and Budgeting
Every successful home begins on paper. Before the first brick is laid, thorough planning is essential.
Important steps in this stage:
- Determine your total budget.
- Hire an architect or use a pre-approved building plan.
- Get your land surveyed.
- Plan for utilities (electricity, water, drainage).
- Apply for building permits and local approvals.
Tip: Always keep a 10-15% buffer in your budget for unexpected expenses.
2. Site Preparation and Layout
Once planning is done, it’s time to prepare your land for construction.
Activities include:
- Clearing debris, trees, or old structures.
- Marking the layout as per the blueprint.
- Setting up temporary water and electricity supply.
This step ensures your plot is ready for the actual construction process.
3. Excavation and Foundation Work
Now the real groundwork begins.
Steps involved:
- Excavating the soil to create space for the foundation.
- Constructing footing and plinth beams.
- Pouring concrete for the foundation.
A strong foundation is critical for structural stability.
4. Plinth Beam and Slab
The plinth level separates the superstructure from the substructure. It helps prevent moisture from entering the building.
This stage involves:
- Laying the plinth beam.
- Filling the plinth area with soil and compacting it.
- Casting the slab above the plinth.
5. Superstructure – Wall Construction
With the base ready, the walls of your home start to rise.
Tasks include:
- Brick or block masonry work.
- Lintel beam installation over doors and windows.
- Curing the walls for strength.
You’ll begin to see the shape of your house coming to life during this stage.
6. Roofing or Slab Casting
This is a major milestone in the house construction step-by-step process.
Steps:
- Setting up formwork (shuttering).
- Laying reinforcement steel.
- Pouring concrete for the roof slab.
Once the slab is cast, the structure is called “roofed.”
7. Doors and Windows Installation
After the structure is complete, it’s time to install openings.
In this phase:
- Window and door frames are fixed.
- Shutters are installed after finishing.
Use quality wood or uPVC for durability and better insulation.
8. Electrical and Plumbing Work
Now begins the internal work, usually before plastering.
This includes:
- Electrical wiring for lights, fans, and appliances.
- Plumbing lines for water supply and drainage.
- Concealed piping and switchboard boxes.
Make sure you hire certified electricians and plumbers to avoid future issues.
9. Plastering and Waterproofing
Smooth walls and protection from water — both are handled in this stage.
What happens:
- Internal and external wall plastering.
- Roof and bathroom waterproofing.
- Floor leveling.
Good plastering gives a neat finish and prepares the surface for painting.
10. Flooring and Tiling
It’s time to choose your home’s style!
Activities:
- Laying tiles, granite, or marble.
- Fixing bathroom and kitchen tiles.
- Installing skirting tiles at wall edges.
Choose anti-skid tiles for bathrooms and high-durability tiles for kitchens.
11. Painting and Finishing Work
This is when your house really starts to look like a home.
Tasks include:
- Wall priming and final coats of paint.
- Installing false ceilings and lighting.
- Final carpentry like wardrobes and kitchen cabinets.
12. Final Fittings and Fixtures
The finishing touches are now added.
This involves:
- Installing sanitary ware (toilets, sinks).
- Fitting electrical items (switches, lights, fans).
- Fixing water tanks, solar panels, etc.
Check each installation carefully during this step.
13. Exterior Work and Landscaping
The outside of your home matters too.
Exterior works:
- Gate and compound wall construction.
- Driveway and footpath tiling.
- Garden or lawn setup.
A well-designed exterior enhances the value and appeal of your property.
14. Final Inspection and Handover
Before you move in, do a thorough walkthrough.
Inspect for:
- Leakages, cracks, or uneven flooring.
- Electrical and plumbing function.
- Paint quality and alignment of doors/windows.
Once everything is approved, you’re ready to get your occupancy certificate and move in!
Conclusion
Building a house is a big project, but breaking it into smaller steps makes it manageable. By understanding the house construction step by step process, you’ll be more confident, make better decisions, and ensure your dream home is built the way you want.
Whether you’re working with a contractor or managing it yourself, knowing the steps of house construction helps you stay in control of quality, cost, and time.
Remember: Good planning and reliable professionals are the foundation of a stress-free house construction process.


Make An Enquiry1
customers says
KMG is a great builder to work with. Biggest advantages that I got by selecting KMG villa project : – Affordable – In time completion. Hats off for keeping the promise on timelines. All the best to the Team for future endeavors.

Ali Mubarack
Business
Thank you,Pleasantly surprised and extremely pleased…that is how we would describe our building experience with KMG. From start to finish, everyone was very professional and helpful.

Madhavan Nair
Ex Army Engineer
We recommend KMG developer as perfect home makers and we have decided to go for a KMG Villa too in another couple of years. Wish you the best for for all upcoming projects.
